-
By

- January 20, 2025
- Selling & Pricing
Pricing Craft Fair Items: How to Set Prices for Maximum Sales
I read somewhere that 60% of customers decide on a purchase based on clear pricing? At craft fairs, where first impressions matter, pricing craft fair items can make or break a sale!
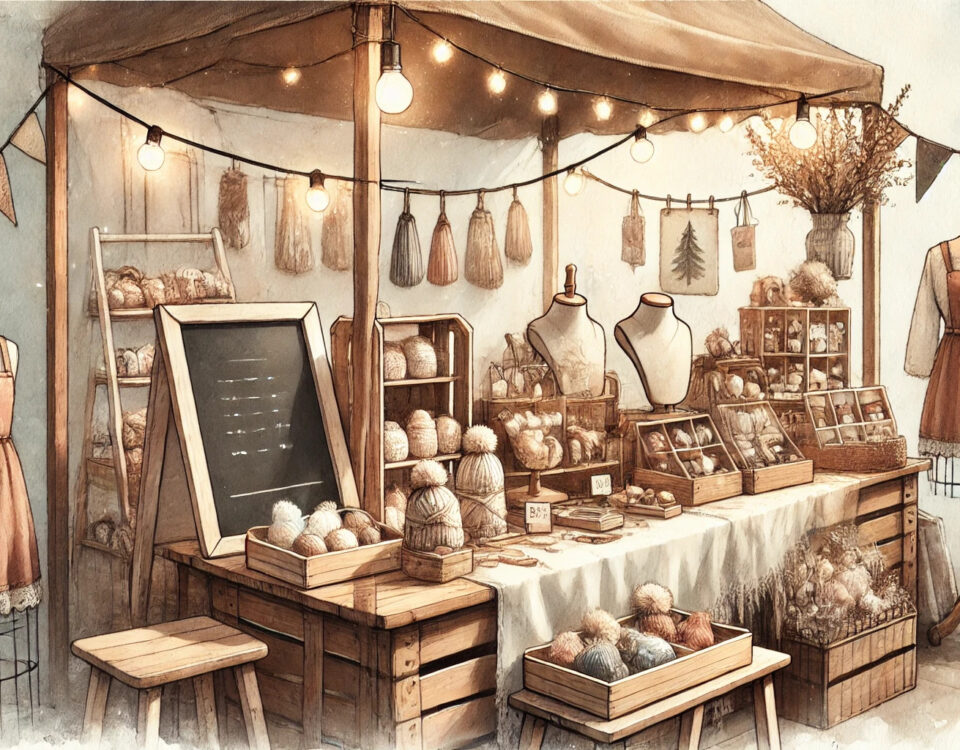
Whether you’re a seasoned vendor or just starting, displaying your prices effectively is crucial to attracting buyers and standing out in a bustling and crowded craft fair. In this guide, I’ll go into creative, practical, and proven strategies for showing prices at craft fairs.
Why Clear Pricing is Crucial at Craft Fairs
Craft fairs are busy and popular events (especially around holidays and special days), bustling with activity, vibrant creativity, and potential buyers. However, in this lively atmosphere, one thing can quickly make or break whether customers are just browsing through your product display or buying your products: clear pricing. Customers want transparency and convenience, especially in a competitive environment where other booths may grab their attention.
Clear pricing is more than just listing a number; it builds trust, ensures smooth transactions, and enhances the overall shopping experience. Here’s why it matters and how to avoid common mistakes.
The Thinking Behind Clear Pricing and Buyer Trust
When customers see clear, accessible pricing:
- They feel confident about the purchase.
- It eliminates hesitation caused by the fear of being overcharged.
- Transparent pricing also fosters trust, which increases loyalty and boosts word-of-mouth recommendations.
Common Mistakes Vendors Make With Pricing Displays
| Mistake | Why It’s a Problem |
| Handwritten prices that are hard to read | Causes confusion and may lead to missed sales. |
| Pricing not displayed at all | Customers are less likely to inquire and may walk away. |
| Overcrowded displays | Makes it difficult to focus on individual items. |
Benefits of Transparent and Visually Appealing Price Tags
Using well-designed price tags and displays can:
- Attract attention: Eye-catching displays draw in curious shoppers.
- Simplify decision-making: Clear prices reduce customer doubts.
- Improve sales flow: Customers can shop independently without constantly asking for prices.
Key Tip: Include both the price and a short description (if necessary) of the product, especially for unique handmade items. For example:
“Hand-knitted scarf – $45.00 (Soft alpaca wool, available in three colors)”
Essential Elements of an Effective Pricing Display
Creating an effective pricing display isn’t just about slapping a number onto your products. It’s about combining clarity, design, and strategy to create a seamless shopping experience. From the choice of fonts to the placement of your price tags, every detail matters. Let’s dive into the must-have elements of a pricing display that draws attention and drives sales.
Readable Fonts, Colors, and Sizes
Your pricing display must be easy to read from a distance. Here’s how you can achieve that:
- Font Size: Use large, bold fonts for the main price to ensure visibility.
- Font Type: Opt for clean, sans-serif fonts like Arial or Helvetica for readability. Avoid cursive or decorative fonts that might confuse shoppers.
- Contrast: Make sure there’s high contrast between the text and background. For instance, black text on a white tag or white text on a dark background works well.
| Do | Don’t |
| Use bold, legible fonts | Use overly decorative fonts |
| Choose contrasting colors | Use light text on light backgrounds |
| Test visibility from 6-8 feet away | Assume customers will strain to see |
Placement of Price Tags
The placement of price tags can significantly impact their effectiveness:
- Eye-Level Placement: Ensure your prices are at eye level or slightly below for easy viewing.
- Consistent Placement: Place price tags in the same spot on similar products (e.g., top-right corner).
- Group Products by Price: Display similar-priced items together to streamline browsing.
Example:
If you’re selling handmade candles, place all $15 candles on one shelf with a clear group label, like:
“All Candles Here: $15 Each”
Incorporating Product Descriptions and Bundles
A price tag can do more than display the cost; it can highlight value.
- Include Descriptions: Briefly mention the product’s unique features.
- Example: “Hand-poured soy candle – $15 (Lavender scent, burns for 50+ hours)”
- Showcase Bundles: Offer discounts for bundled products and clearly display the savings.
- Example: “Buy 3 candles for $40 (Save $5)”
Tip: Use icons, symbols, or labels like “Best Seller” or “Limited Edition” to emphasize value.
Design Examples for Effective Displays
| Tag Type | Design Example |
| Traditional Tags | A rectangular card with a bold price in the center, product description underneath, and a decorative border. |
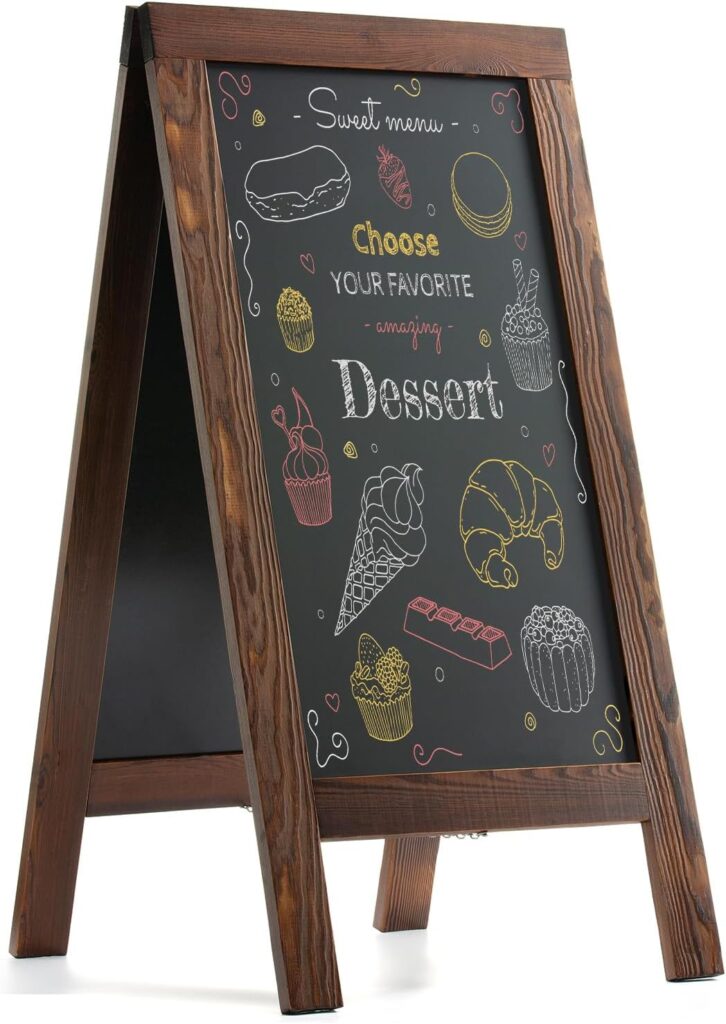
| Chalkboard Displays | Handwritten prices on mini chalkboards placed in front of grouped items. |
| Digital Displays | Small screens showing product prices and features in a slideshow format. |
Why These Elements Matter
Incorporating these design ideas ensures that your pricing display:
- Looks professional and inviting.
- Communicates value without overwhelming the customer.
- Creates a shopping experience that’s both functional and enjoyable.
Creative Pricing Display Ideas for Craft Fairs
A craft fair is your chance to showcase not just your products but also your creativity. Your pricing display should reflect your brand’s personality while making it easy for customers to see what they’re getting. Let’s look more at some creative, eye-catching pricing ideas that will make your booth stand out and drive sales.
Chalkboard Signs and Handwritten Displays
A classic and versatile option, chalkboards add a rustic, handmade touch that complements most craft booths. I see these more and more from large, fairly busy chalkboard signs to small, individual ones, smartly placed throughout the display booth.
Advantages:
- Easy to update prices on the fly.
- Cost-effective and reusable.
- Perfect for themes like farmhouse, vintage, or boho styles.
Tips for Success:
- Use chalk markers for bold, smudge-resistant writing.
- Add decorative elements, like borders, doodles, or small illustrations that match your brand.
- Ensure legibility by keeping the text size large and clear. Having someone do this with great handwriting is a must!
| Example Design |
| “Handmade Candles – $15 each” |
| “Buy 3 for $40!” (Draw small candle doodles in the corners.) |
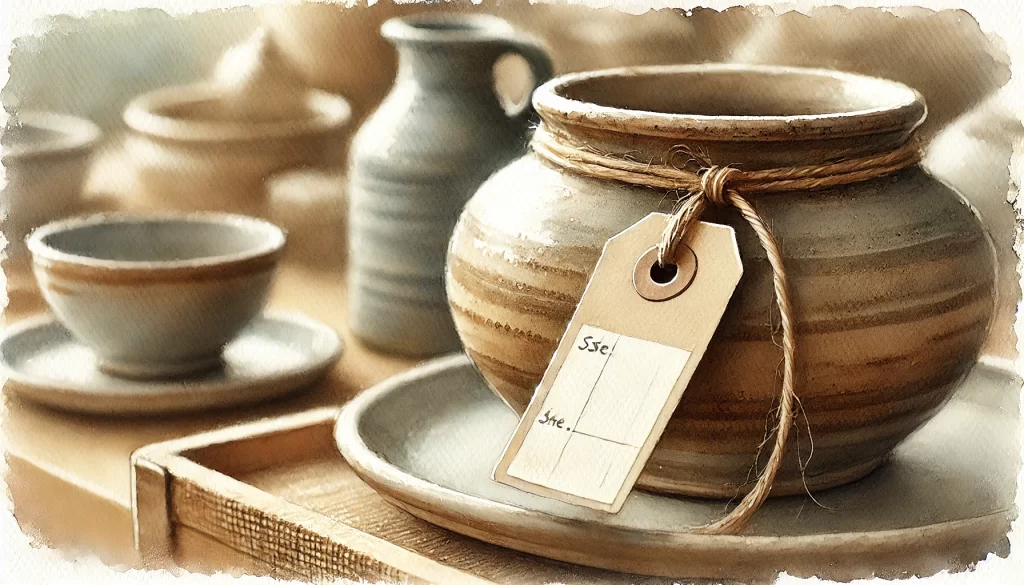
Tagging Your Products Directly
Attaching price tags directly to your items ensures there’s no confusion about the cost. This method works especially well for small or uniquely shaped items.
Materials You Can Use:
- Kraft paper tags for a rustic look.
- Printed stickers for a sleek, modern finish. Although be aware that some customers don’t like it if a sticker is hard to remove from the item, or leaves residue on the product.
- Custom-shaped tags (e.g., hearts, leaves, or stars) for extra charm.
Tip: Add a branded element, such as your logo or a signature color, to the tags for a cool and cohesive look.
Digital Displays for a Modern Touch
For vendors looking to add a high-tech element to their booths, digital displays are an excellent choice.
Ideas for Using Digital Displays:
- Set up a tablet or small screen to showcase a rotating slideshow of prices, product features, and special offers.
- Incorporate QR codes customers can scan to view pricing and detailed product descriptions on their phones.
| Advantages |
| Provides a modern and professional vibe. |
| Allows for detailed product descriptions. |
| Attracts tech-savvy customers. |
Tip: Place the screen at eye level and keep the slideshow minimal to avoid overwhelming buyers.
Incorporating Themes Into Your Pricing Displays
If your craft booth has a specific theme, ensure your pricing display matches it.
Examples:
- Nature Theme: Use wooden price tags or mini log slices with engraved or handwritten prices.
- Holiday Theme: Add festive decorations like garlands or snowflakes around your price displays.
- Minimalist Theme: Keep displays clean and modern with simple fonts and neutral colors.
Visual Table of Pricing Display Ideas
| Display Type | Best For | Materials Needed |
| Chalkboard Signs | Rustic, farmhouse, boho styles | Mini chalkboards, chalk markers |
| Direct Product Tags | Small or uniquely shaped items | Kraft paper tags, stickers, string |
| Digital Displays | Tech-savvy or high-end booths | Tablet, small screen, QR code generator |
Why Creativity Matters
Creative pricing displays are more than just functional—they’re a part of your branding and customer experience. By investing in a display that reflects your products’ uniqueness, you’ll:
- Attract attention in a crowded craft fair.
- Leave a lasting impression on shoppers.
- Encourage more sales through engaging, approachable designs.
Tips for Adapting Pricing Displays to Your Craft Fair Audience
Not all craft fairs are the same, and neither are the customers who attend them. A pricing display that works for one audience might miss the mark with another. By tailoring your pricing displays to match the preferences and expectations of your target customers, you can maximize engagement and sales. Here’s how you can adjust your pricing strategy based on the crowd you’re catering to.
High-End vs. Budget-Focused Markets
Your pricing display should align with the type of products you sell and the audience’s purchasing power.
High-End Market:
- Keep the display minimalist and clean to convey luxury.
- Avoid discount language; instead, highlight exclusivity with terms like “Limited Edition” or “Handcrafted Masterpiece.”
Budget-Focused Market:
- Highlight affordability with phrases like “Best Value” or “Affordable Gifts Under $20.”
- Use bright, friendly designs to create an approachable feel.
- Display bundles and discounts prominently.
| Example Comparison |
| Luxury Item Tag: “Custom Leather Wallet – $150.00 (Premium Full-Grain Leather)” |
| Budget Item Tag: “Handmade Keychains – $5 Each or 3 for $12!” |
Catering to Local and Cultural Preferences
Local markets often have unique preferences influenced by culture, trends, or seasonal demands.
- Local Language: If the craft fair is in a bilingual or multilingual area, consider displaying prices in both languages.
- Cultural Significance: For fairs with cultural themes, incorporate traditional symbols or designs into your price tags.
- Regional Pricing Norms: Research pricing norms in your area—what’s considered high, average, or low?
Tip: Add a local touch with phrases like:
“Locally Made in [Your City]” or “Crafted with Care in [Region].”
Adapting Displays Based on Age Groups
Craft fairs often attract a mix of customers, from young families to older retirees.
- Younger Audiences: Use digital displays, modern fonts, and bold colors to capture their attention.
- Older Audiences: Stick to simple, classic designs with clear text and traditional layouts.
| Age Group | Preferred Display Style |
| Kids | Fun, colorful signs with playful fonts. |
| Millennials | Minimalist, Instagram-friendly designs. |
| Retirees | Traditional, easy-to-read displays. |
Seasonal Adjustments for Pricing Displays
Craft fairs often align with holidays or seasonal events, so your pricing display should reflect the occasion.
Examples:
- Christmas Fair: Add festive touches like snowflakes or holly to your tags.
- Spring Market: Use floral patterns and pastel colors.
- Fall Festival: Incorporate warm tones like orange and brown with rustic designs.
| Season | Visual Themes |
| Winter | Snowflakes, blue and white. |
| Summer | Bright yellows, beach motifs. |
| Autumn | Leaves, orange and gold tones. |
Why Audience-Specific Displays Matter
Tailoring your pricing display allows to you to better:
- Connect with your target audience, making them feel understood.
- Stand out from competitors who take a one-size-fits-all approach.
- Create an enjoyable shopping experience that encourages return customers.
Pricing Strategies to Complement Your Display
A good pricing display is only half the battle—your pricing strategy can also play a role in attracting customers and encouraging purchases. By combining the right pricing techniques with clear displays, you can boost both value and sales.
Highlighting Discounts, Bundles, and Special Offers
Craft fair shoppers love feeling like they’re getting a good deal. Use your display to emphasize savings through:
- Discounts
- Offer percentage-based discounts (e.g., “10% off all items”) or dollar-based deals (e.g., “$5 off purchases over $50”).
- Display discounts in bold, noticeable fonts to grab attention.
- Bundles
- Group related items and offer a reduced price when purchased together.
- Example: “Buy 3 Hand-Painted Mugs for $25 (Save $5)”
- Limited-Time Offers
- Encourage urgency with phrases like “Today Only” or “While Supplies Last”.
- Use countdowns or timers on digital displays to reinforce the urgency.
Tip: Something I’ve seen around – Use color coding to differentiate regular prices from discounts, such as green or red for sale prices.
Using Price Anchoring to Influence Buyer Decisions
Price anchoring involves presenting a higher price first to make the actual price feel like a bargain.
Example:
- Original Price: $30
- Discounted Price: “Now Just $20!”
| Display Example |
| “Originally $30 – Now $20” |
This tactic works well at the tail-end of a craft fair, on the last day or near closing time.
Out-of-the-box thinking on Pricing
There are ways to creatively display pricing in a way that has shown to entice customers more so than other methods.
- Odd Pricing: Use numbers ending in “9” or “7” (e.g., $9.99 or $17.97) to make prices appear lower.
- Round Numbers for Premium Products: Use whole numbers (e.g., $50 instead of $49.99) to convey quality and luxury.
- Charm Pricing: Add phrases like “Best Value” or “Most Popular” near key items to influence purchasing decisions.
Showcasing Value With Tiered Pricing
Tiered pricing works well for products with varying levels of customization or quality. Display multiple pricing tiers to appeal to a wider audience.
Example for Handmade Jewelry:
- Basic Necklace: $20 (Simple design)
- Premium Necklace: $40 (Includes gemstone)
- Deluxe Necklace: $60 (Custom engraving + gemstone)
| Tier | Features | Price |
| Basic | Simple design | $20 |
| Premium | Adds gemstone | $40 |
| Deluxe | Includes engraving | $60 |
Incorporating Freebies or Bonuses
Adding small bonuses can increase the perceived value of a purchase.
- Example Ideas:
- “Buy any 2 items, get a free gift!”
- “Spend over $50 and receive a complimentary tote bag.”
Tip: Use a small section of your display to highlight the bonus item, such as a product stand labeled “Free Gift with Purchase!”
Offering Flexible Payment Options
Convenience is key for craft fair customers. Display accepted payment methods clearly to keep the flow of customers making purchases during checkout more seemless.
- Use icons for cash, credit cards, and mobile payments (e.g., Venmo, PayPal).
- Highlight any fees for card payments upfront to avoid surprises.
| Example Payment Sign |
| “We Accept: Cash, Credit Cards, Venmo” |
Some Mistakes to Avoid When Displaying Prices at Craft Fairs
Even the most creative and eye-catching pricing display can fall flat if it’s not presented properly. Common mistakes can confuse customers, create frustration, or even discourage purchases. To ensure your pricing display works effectively, try and steer clear of these pitfalls I’ve seen over the years.
Mistake 1: Overcrowding Your Display With Too Much Information
Including too much text, too many items, or excessive decorations can overwhelm shoppers.
Why It’s a Problem:
- Customers won’t know where to focus, leading to what’s referred to as decision fatigue.
- Important details, like the actual price, can get lost in the clutter.
Fix:
- Keep your pricing display simple and clean.
- Focus on essential details like the price, as well as product name, and a short description if the product requires it.
Example:
| Cluttered Display | Clean Display |
| “Handmade Candles – $15, made with soy wax, comes in lavender, vanilla, and rose, lasts 50 hours.” | “Handmade Soy Candle – $15 (Lavender, Vanilla, Rose)” |
Mistake 2: Using Illegible Fonts or Clashing Colors
Hard-to-read fonts and poorly chosen color combinations can frustrate customers and drive them away.
Why It’s a Problem:
- Shoppers won’t spend time deciphering difficult text.
- Your booth may appear unprofessional.
Fix:
- Use bold, simple fonts like Arial, Helvetica, or Verdana.
- Choose high-contrast color combinations, such as dark text on a light background.
| Bad Example | Good Example |
| Cursive fonts on pastel colors | Bold sans-serif fonts on white |
Mistake 3: Failing to Make Prices Visible From a Distance
If customers can’t see your prices while browsing, they might skip your booth altogether.
Why It’s a Problem:
- Many shoppers won’t ask for prices—they’ll simply walk away.
- You miss the opportunity to attract impulse buyers.
Fix:
- Ensure prices are displayed at eye level or slightly below.
- Use large font sizes for signage visible from 6–8 feet away.
Helpful Tip: Use vertical signs or stands to elevate your pricing displays for better visibility.
Mistake 4: Forgetting to Label Grouped Items
If similar products with the same price are displayed together without proper labeling, customers might feel confused or hesitant.
Why It’s a Problem:
- Customers waste time trying to determine the price.
- They may assume the product is expensive if the price isn’t clear.
Fix:
- Label grouped items with a bold, easy-to-read sign that states the price.
- Example: “All Handmade Bracelets – $25 Each”
Mistake 5: Ignoring Seasonal and Thematic Consistency
Displaying prices that clash with your booth’s theme or the season can create a disconnect in your presentation.
Why It’s a Problem:
- Customers might feel your display lacks cohesiveness.
- It can diminish the perceived value of your products.
Fix:
- Align your pricing design with your booth’s theme or the event’s season. For example, use snowflakes or red and green accents for holiday fairs.
Mistake 6: Not Accounting for Digital Payment Options
With the rise of digital payments, many customers expect vendors to accept more than just cash.
Why It’s a Problem:
- Customers without cash may walk away without making a purchase.
- You could lose sales to competitors who accept digital payments.
Fix:
- Clearly display accepted payment methods using universally recognized icons (e.g., PayPal, Venmo, credit cards).
- Example sign: “We Accept: Cash, Cards, PayPal, Venmo”
Avoiding These Mistakes Will Help You Succeed
By steering clear of these common pricing display mistakes, you’ll create a booth that feels welcoming, professional, and easy to shop at. Remember, clarity and consistency are your greatest allies in making your craft fair a success!
Conclusion
Summary of Key Points
Your pricing display at a craft fair is more than just a sign or tag—it’s an extension of your brand and a key element of your sales strategy. By following some of these tips and ideas, you can create displays that:
- Attract attention with creativity and design.
- Build trust with clear, consistent, and visible pricing.
- Enhance customer experience by making shopping easy and enjoyable.
From avoiding common mistakes to tailoring displays for your audience, every detail matters. Whether you’re using rustic chalkboards, interactive displays, or digital screens, remember that a well-thought-out pricing display reflects your professionalism and commitment to your craft.
Final Thoughts
Craft fairs are exciting opportunities to connect with customers, showcase your creativity, and grow your brand. An effective pricing display can set you apart from the competition and ensure customers leave with both your products and a positive impression of your business.