
-
By

- January 20, 2025
- Booth Design & Layout
How to Pack and Move Your Street Fair Booth
Properly packing and transporting the equipment and products for your street fair booth can be a enormass and challenging task, but it doesn’t have to be! Whether you’re a seasoned vendor or just starting out, ensuring your display and (many times fragile) products arrive intact and ready to impress is crucial. In this guide, I’ll walk you through what I’ve learned in foolproof packing techniques, moving strategies, and some helpful tips to streamline your setup process. My goal being to help make your craft fair experience stress-free, fun and successful!
Understanding the Importance of Proper Packing
When it comes to craft fairs, your street fair booth is more than just a setup—it’s your ‘storefront’, your brand, and the way you showcase your creativity. Proper packing isn’t just a necessity; it’s an investment in your success.
Why Proper Packing Protects Your Investment
Your craft fair display likely includes fragile items, intricate decor, and essential equipment that you’ve carefully curated. Without adequate packing, these items are at risk of:
- Breakage during transit due to insufficient protection.
- Scratches and dents caused by improper stacking.
- Loss or disorganization that can delay your setup process.
A small investment in quality packing materials CAN save you from costly replacements or repairs.
Common Risks of Poorly Packed Craft Displays
Here are some of the most common issues faced by vendors who underestimate the importance of packing:
| Risk | Impact |
| Fragile items breaking | Increased costs and stress replacing them |
| Items arriving disorganized | Delayed booth setup and unprofessional appearance |
| Unsecured items shifting | Damages to both products and packaging |
How Organized Packing Saves Time and Stress
Packing with a strategy is a game-changer. By categorizing and labeling your items, you’ll:
- Reduce setup time: Know exactly where each item is.
- Minimize stress: Avoid scrambling for missing pieces.
- Streamline your process: Make setup and teardown more efficient.
For instance, labeling boxes with a clear, bold system (e.g., “Display Items,” “Decor,” or “Tools”) ensures you can grab what you need without second-guessing.
Tip: Create a Packing Checklist
Use a checklist to ensure no essential items are left behind. Here’s an example of a simple checklist:
- [ ] Bubble wrap for fragile items
- [ ] Durable storage bins
- [ ] Packing tape
- [ ] Labels and markers
- [ ] A dolly or cart
By recognizing the risks and preparing for them, you’ll start your craft fair journey on-the-right foot with confidence.
Choosing the Right Packing Materials
The success of your street fair booth transportation depends heavily on the materials you choose. Selecting the right packing supplies ensures your display components are protected for the trip and makes the overall process a lot less worrisome for you. Here are some things I suggest you look at with regards to materials.
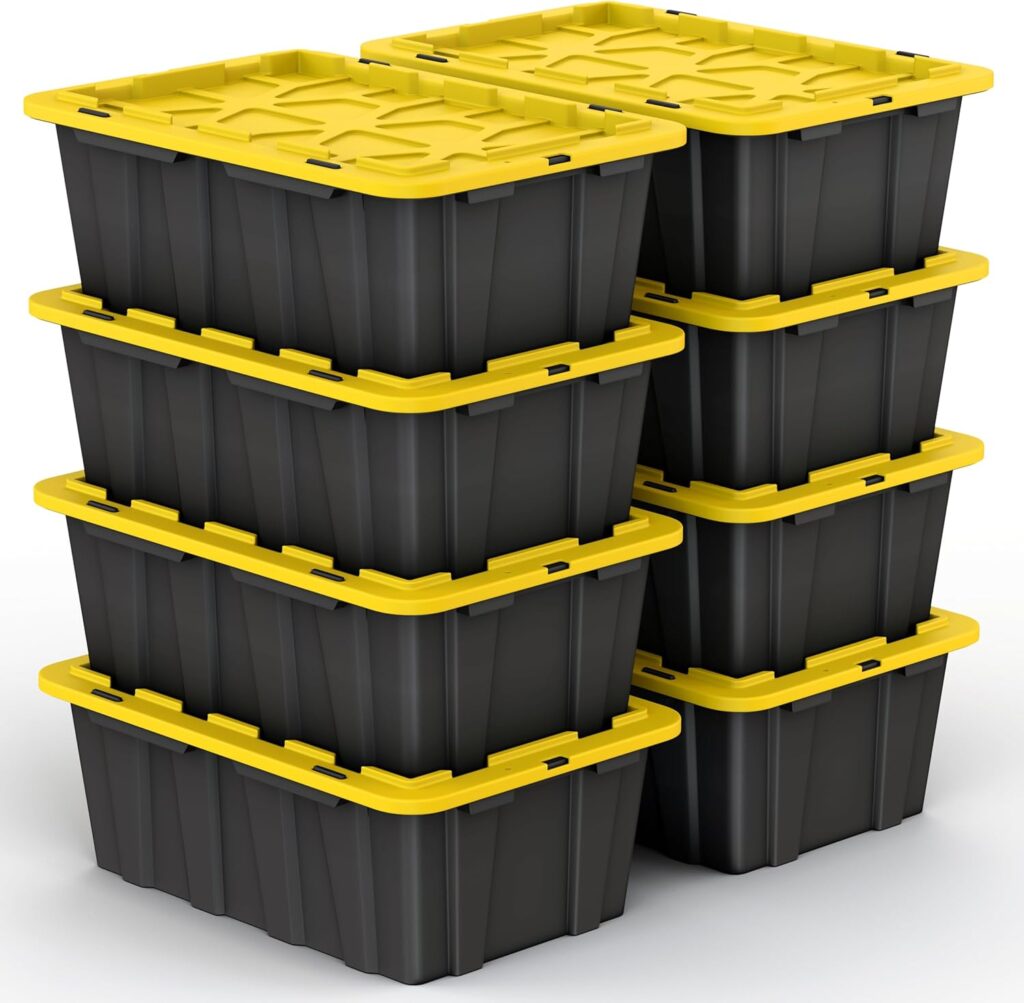
Durable Storage Bins vs. Cardboard Boxes
When deciding how to store and transport your items, the choice often comes down to durable storage bins or cardboard boxes. Here’s a comparison:
| Material | Pros | Cons |
| Storage Bins | Waterproof, stackable, and long-lasting | Higher upfront cost |
| Cardboard Boxes | Lightweight and cost-effective | Less durable; prone to moisture and tearing |
Recommendation: Use storage bins for heavy or fragile items and cardboard boxes for lightweight items like signage or tablecloths.
Essential Packing Materials
To safeguard your craft fair display, invest in these must-have packing materials:
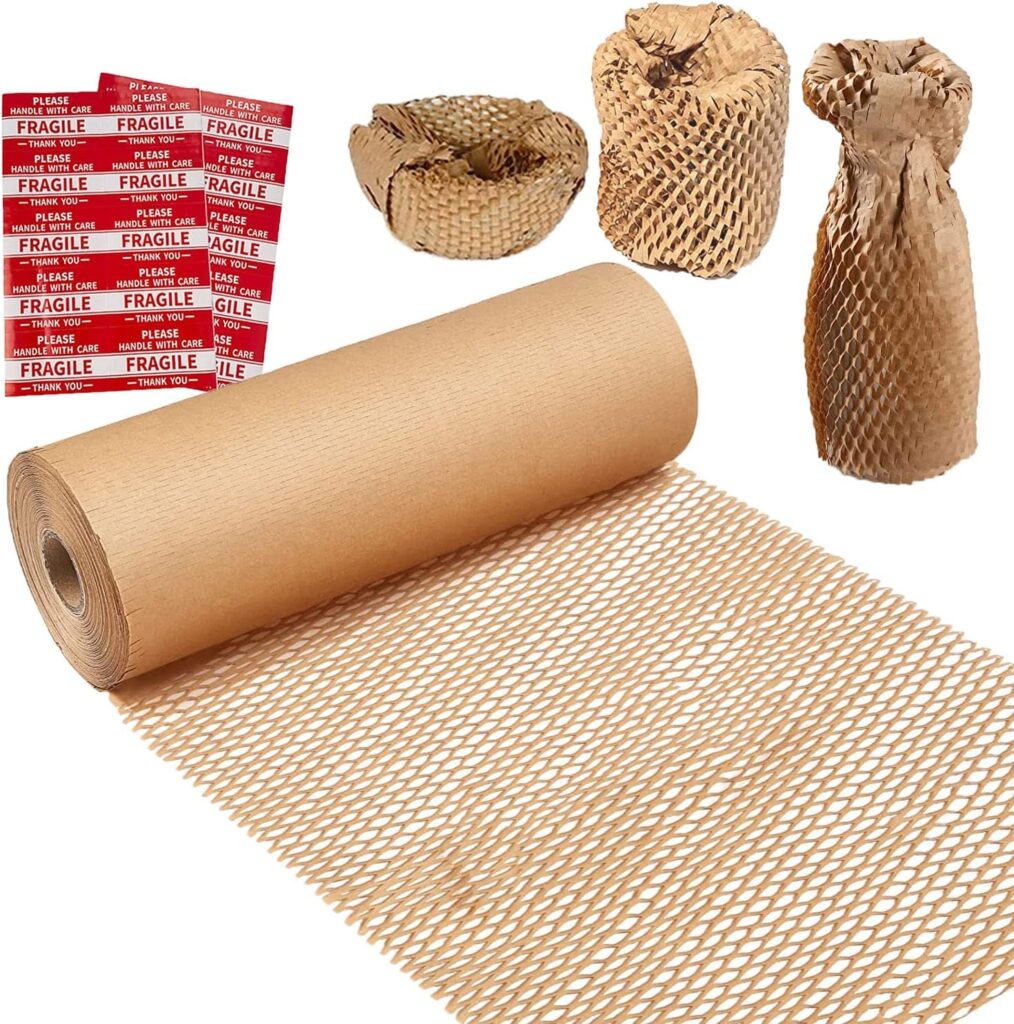
- Bubble wrap: Provides cushioning for fragile items like ceramics or glass.
- Foam inserts: Great for items with sharp edges or delicate finishes.
- Packing paper: A cost-effective alternative for wrapping less fragile items.
- Plastic wrap: Secures items like display stands and keeps them dust-free.
- Packing tape: High-strength tape ensures your boxes or bins remain sealed.
Tip: Invest in Customized Storage Solutions
If you frequently attend craft fairs, consider investing in customized storage solutions such as:
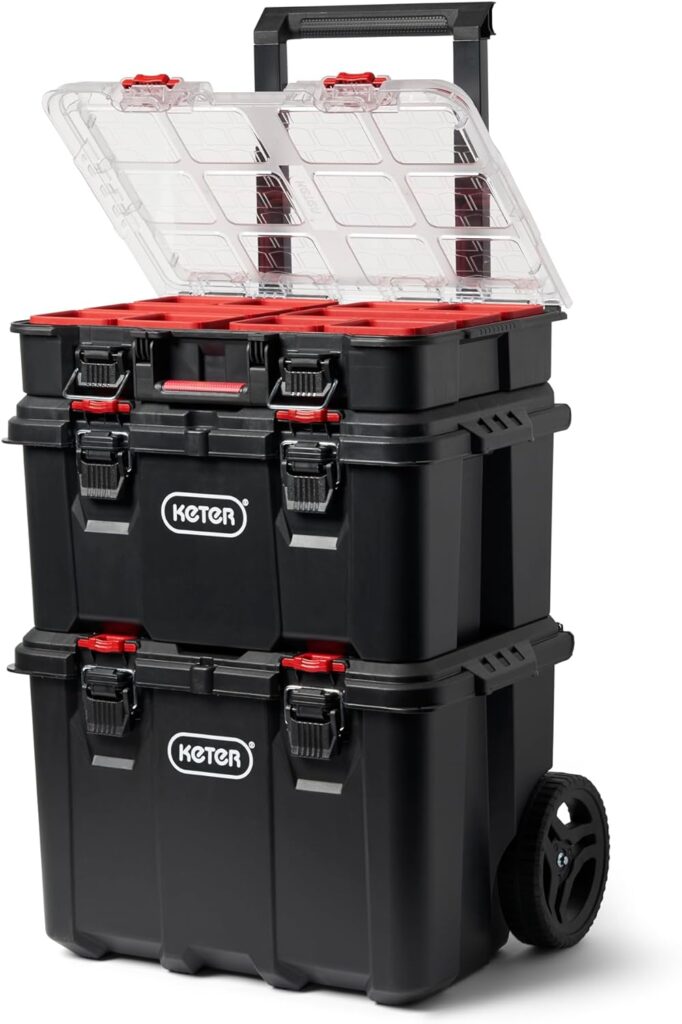
- Stackable bins with compartments for smaller items.
- Storage containers designed specifically for fragile displays.
- Collapsible bins to save space during return trips.
These solutions not only protect your items but also make loading and unloading more efficient.
Step-by-Step Packing Guide for Your Street Fair Booth
Packing your street fair booth probably initially looks pretty overwhelming? But the best way to deal with that is to break it down into manageable steps that can help simplify the process.
Step 1: Sorting Items by Category
The first step in packing is to categorize your items. Group similar pieces together for easier packing and unpacking. Here’s how to divide them:
- Display Components: Tables, stands, shelves, and backdrops.
- Decor and Signage: Banners, tablecloths, and decorative items.
- Products: Your handmade crafts or goods.
- Tools and Supplies: Scissors, tape, zip ties, and other setup essentials.
Tip: Use color-coded labels or tags for each category to make it easier for you to identify..
Step 2: Protecting Fragile Items
Fragile items require extra care. Follow these wrapping techniques to minimize the risk of damage:
- Layer with Bubble Wrap: Wrap delicate items completely and secure them with tape.
- Use Foam Inserts: Place foam inserts in bins or boxes to cushion breakable pieces.
- Fill Empty Spaces: Use packing peanuts or crumpled kraft paper to prevent shifting.
Step 3: Packing Efficiently
Maximize space and ensure safety with these packing ideas:
- Heaviest Items First: Place heavier items like stands or bins at the bottom of your transport containers.
- Layer by Weight: Arrange lighter items on top to prevent crushing.
- Compact Packing: Fold collapsible items like stands and backdrops to save space.
- Stack Strategically: Use stackable bins to keep your setup tidy and organized.
Step 4: Labeling for Easy Unpacking
A clear labeling system can save you precious time during setup. Include the following on each label:
- Category (e.g., “Products – Fragile”)
- Priority (e.g., “Unpack First”)
- Contents (e.g., “Tablecloths and Linens”)
Example Label:
Category: Products – Fragile
Priority: Unpack First
Contents: Ceramic Jewelry Holders
Step 5: Creating a Packing Checklist
Stay organized with a comprehensive checklist to ensure nothing is forgotten. Here’s an example:
| Checklist | Status |
| Bubble wrap and foam inserts | [ ] |
| Durable storage bins | [ ] |
| Packing tape | [ ] |
| Tools for booth assembly (e.g., screwdriver, scissors) | [ ] |
| Signage and decor | [ ] |
Check each item off as you pack to avoid last-minute stress.
Packing Timeline
To keep your packing stress-free, follow this suggested timeline:
- 1 Week Before: Sort and gather packing materials.
- 3 Days Before: Pack all non-perishable items like displays and decor.
- Night Before: Pack perishable or more fragile items like delicate crafts.
By following these steps, your street fair booth will be packed securely, organized efficiently, and ready for a smooth setup.
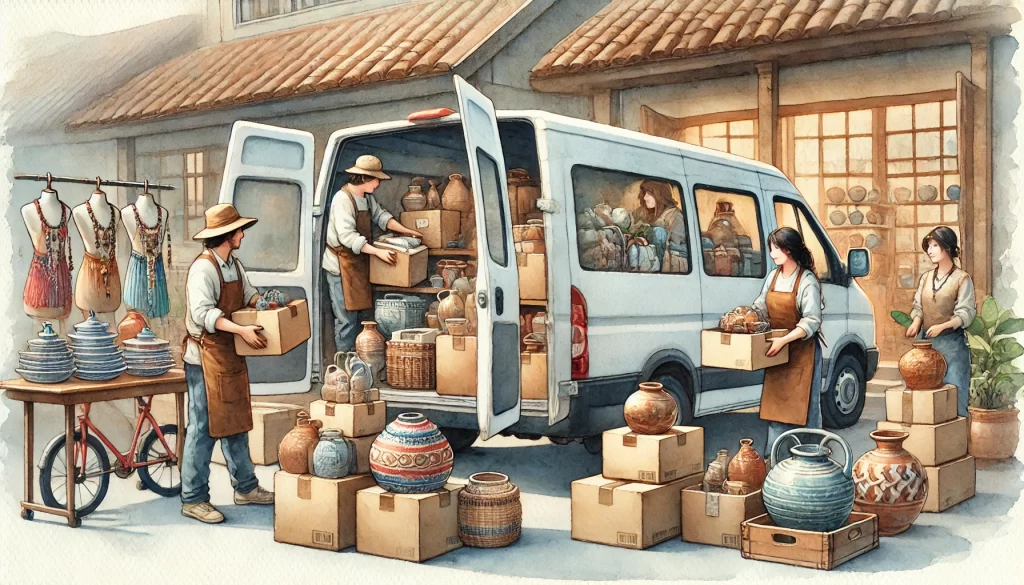
Best Practices for Moving Your Display
Once your street fair booth is packed, the next challenge is ensuring it reaches the venue safely. From choosing the right vehicle to loading techniques, these best practices will help you move your display with confidence and efficiency.
Selecting the Right Transport Vehicle
The size and type of vehicle you need depend on the scale of your display. Here’s a quick comparison to help you choose:
| Vehicle Type | Best For | Pros | Cons |
| Sedan | Small displays, lightweight items | Affordable and easy to drive | Limited space for bulky items |
| SUV | Medium displays, collapsible setups | More cargo room and foldable seats | May require creative packing |
| Van or Minivan | Large displays, multiple boxes or stands | Plenty of room for items and equipment | Higher rental or fuel costs |
| Rental Truck | Large-scale setups, heavy equipment | Maximum space for all items | Requires careful driving and securing |
Loading Techniques to Maximize Space and Minimize Damage
Efficient loading is key to protecting your items and making the most of your transport vehicle. Use these tips:
- Start with Heavy Items: Load tables, stands, and other bulky items first, placing them closest to the floor.
- Use Vertical Space: Stack lighter items like decor and signage on top of sturdy bases.
- Secure with Tie-Downs: Use bungee cords or ratchet straps to keep items from shifting during transit.
- Keep Fragile Items Separate: Place fragile boxes in a designated area, ensuring they won’t be crushed.
Securing Items During Transit
A smooth ride is crucial for keeping your street fair booth intact. Here’s how to secure your load:
- Padding for Extra Protection: Place blankets or foam between stacked boxes to prevent movement.
- Check the Load Regularly: If driving long distances, stop periodically to ensure everything is still secure.
- Avoid Sudden Stops: Drive cautiously to minimize jolts that could damage your items.
Tip: Plan for Unloading
Make the unloading process seamless by packing in reverse order. For example:
- Load the items you’ll need last during setup (e.g., decor) at the back of the vehicle.
- Place essential setup items (e.g., tables, stands) near the door for easy access.
Packing Tools to Simplify Moving
Invest in tools that make moving your street fair booth easier and faster. Here are some vendor favorites:
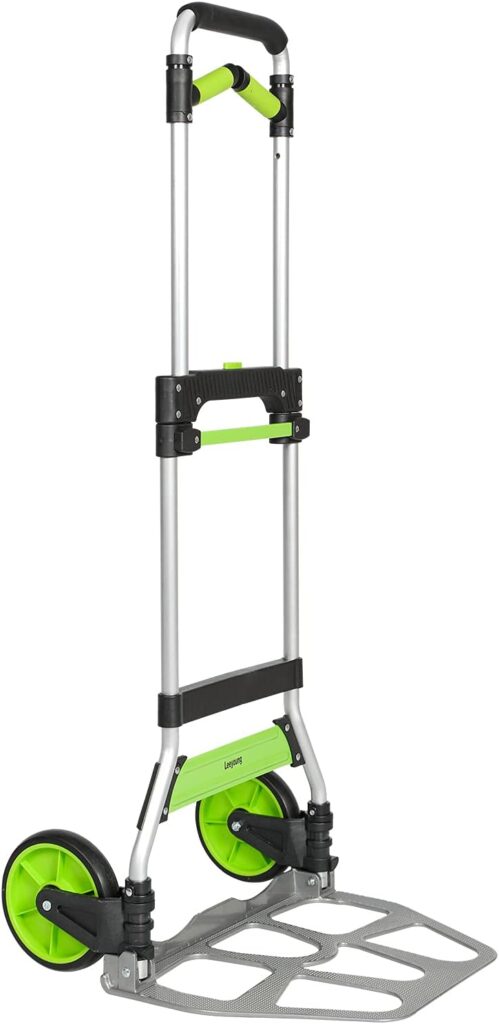
- Dollies and Hand Carts: Perfect for heavy or bulky items.
- Moving Blankets: Protect items from scratches and bumps.
- Storage Totes with Wheels: Combine packing and transport in one.
- Portable Ramps: Useful for loading into trucks or raised platforms.
Moving your display can be stress-free with the right preparation and tools.
Tools and Accessories to Simplify Transport
The right tools and accessories can make moving your street fair booth a breeze. From carts to collapsible stands, these items help streamline the packing, loading, and setup processes. Let’s explore the essential gear every vendor needs for hassle-free transport.
Recommended Dollies and Carts for Heavy Items
Heavy or bulky items can be a challenge to move without the proper equipment. Here are some excellent options:
| Tool | Best For | Features |
| Folding Hand Truck | Boxes and bins | Lightweight, foldable, easy to store |
| Platform Dolly | Large, heavy items like tables or displays | Flat surface for stability |
| Convertible Cart | Versatile transport of various-sized items | Converts between upright and flatbed modes |
Portable Shelving and Collapsible Display Stands
Efficient storage during transit and setup is key to saving time. Portable and collapsible options are ideal for craft fairs.
- Collapsible Display Shelves: These can be folded flat for easy packing and quickly assembled on-site.
- Stackable Crates: Perfect for organizing smaller items while keeping them secure.
- Foldable Tables: Lightweight and easy to transport, they can double as display surfaces.
Example:
A collapsible shelf system can fit into a compact car when folded but offers ample space to showcase products when set up.
Checklist of Must-Have Transport Accessories
| Accessory | Purpose |
| Ratchet straps | Secure bins and boxes during transit |
| Moving blankets | Protect fragile or delicate items |
| Plastic wrap | Keep bins and items dust-free |
| Labels and markers | For clear identification of packed items |
| Tool bag | Store essential setup tools like screws, tape, etc. |
Tips for Choosing the Right Tools
When investing in transport accessories, consider the following:
- Durability: Opt for high-quality tools that can withstand frequent use.
- Weight: Lightweight accessories are easier to carry and store.
- Compact Design: Tools that fold or collapse save valuable space.
Tips for Setting Up Your Street Fair Booth Quickly
Setting up your street fair booth efficiently ensures you have more time to focus on customers and making sales. With some preparation and smart strategies, you can create a visually appealing display without the stress of last-minute adjustments.
Unpacking in the Correct Order
The order in which you unpack can significantly affect your setup time. Follow these steps for a seamless process:
- Start with the Foundation:
- Unload tables, shelving, and other structural elements first.
- Set up your booth layout before unpacking smaller items.
- Add Decor and Signage:
- Hang banners and backdrops while the space is still clear.
- Place tablecloths and other coverings for a polished look.
- Arrange Your Products Last:
- Lay out your items for maximum visibility and customer access.
- Make adjustments once all products are in place.
Tip: Use a diagram or photo of your booth layout to guide the setup process. Often times hat I like to do, si once I have my booth setup and before customers arrive, I get some photos taken so I can use these as reference when setting up how I want things displayed and positioned in the next craft fair event.
Arranging Your Booth for Maximum Visibility
The goal of your street fair booth is to attract and engage customers. Use these ideas to design a booth that stands out:
- Position Eye-Catching Items at Eye Level: Display your best products where customers naturally look.
- Create a Flow: Arrange items in a way that encourages customers to move through your booth.
- Use Height and Depth: Incorporate shelving, risers, or multi-level displays for a dynamic setup.
- Highlight Special Offers: Use clear signage to draw attention to deals or unique products.
Troubleshooting Common Setup Issues
Even with the best preparation, issues can arise during setup. Here’s how to handle some common challenges:
| Issue | Solution |
| Missing or misplaced items | Keep a detailed inventory checklist on hand. |
| Limited space in your booth area | Use vertical displays or collapsible shelving. |
| Wobbly tables or stands | Bring shims or adjustable feet to stabilize. |
| Poor lighting in the venue | Pack battery-powered LED lights or clip-on lamps. |
Tip: Arrive early to allow time for adjustments and last-minute fixes.
Quick Setup Checklist
Use this checklist to ensure a smooth and fast setup process:
| Task | Status |
| Structural setup (tables, shelves) | [ ] |
| Add decor (tablecloths, banners) | [ ] |
| Place lighting and power sources | [ ] |
| Arrange products for display | [ ] |
| Final check for stability and layout | [ ] |
Time-Saving Tools for Setup
Certain tools can make setup even faster:
- Pre-Assembled Shelving: Save time by using shelving that folds open in seconds.
- Rolling Storage Bins: Double as transport and on-site storage for easy access.
- Velcro and Zip Ties: Secure loose items or cords quickly and efficiently.
By unpacking in order, optimizing your booth layout, and troubleshooting proactively, you can set up your display with ease.
Lessons Learned from Common Transport Mistakes
| Mistake | Lesson Learned |
| Not labeling bins and boxes | Always label items clearly for faster setup. |
| Overloading fragile items | Distribute weight evenly to avoid damages. |
| Forgetting essential tools | Keep a dedicated tool kit for every event. |
| Using weak packing materials | Invest in durable, reusable storage options. |
Conclusion
Transporting your street fair booth doesn’t have to be stressful or overwhelming. With the right strategies, tools, and preparation, you can rest assured that your items will arrive safely and are easy to unpack and set up. So, a quick recap!
Key Takeaways:
- Proper Packing Is Crucial
Investing in durable materials like bubble wrap, foam inserts, and stackable bins protects your items and saves time during setup. - Organized Transport Streamlines Setup
Categorizing and labeling your items ensures you can find everything quickly, making unpacking a breeze. - Smart Tools Make All the Difference
Tools like folding carts, collapsible shelving, and portable ramps simplify the moving process, especially for heavy or bulky items. - Learn From Experience
Stories from experienced vendors emphasize the importance of preparation and creative solutions to common transport challenges.
Final Thoughts:
Yourstreet fair booth is a reflection of your creativity and hard work, so you’ll want to make sure that everything makes it to the show and back intact. By implementing the tips and solutions in this guide, you’ll not only protect your investment but also create a smoother, stress-free process for every event. Remember, preparation is the key to success—pack smart, move safely and efficiently, and set up with confidence!


